Troubleshooting Common Issues with Thermal Transfer Ribbons: A Comprehensive Guide
Thermal transfer printing is a popular choice for anyone needing sharp, long-lasting labels, from warehouses to office settings. But sometimes, even the best setups can hit a snag. If your labels are coming out with wrinkles or the print isn't looking right, don't worry. This guide will talk about easy-to-follow steps to figure out what's going wrong and how to fix it. We're here to help you sort out those pesky issues with your thermal transfer ribbons so that your printing can go back to being as reliable as ever. Read more and learn some practical troubleshooting to keep your labels-and your day-running smoothly.
1. What is Thermal Transfer Printing?
Before troubleshooting, we should know about thermal transfer printing. It's a printing method that uses heat to transfer ink from a ribbon onto the material you're labeling-whether that's a shipping label, a product barcode, or anything in between. The result? Sharp, durable prints that stand the test of time and touch.
Why Quality Ribbons Matter?
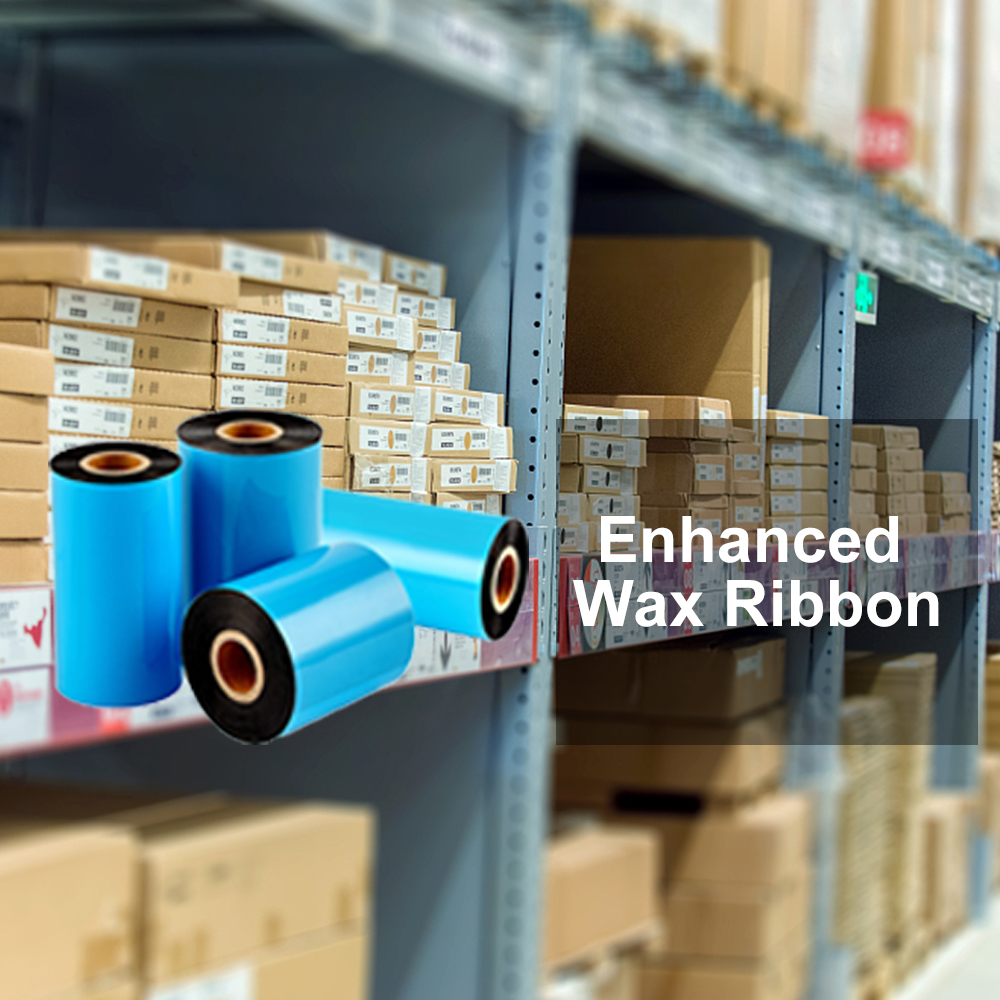
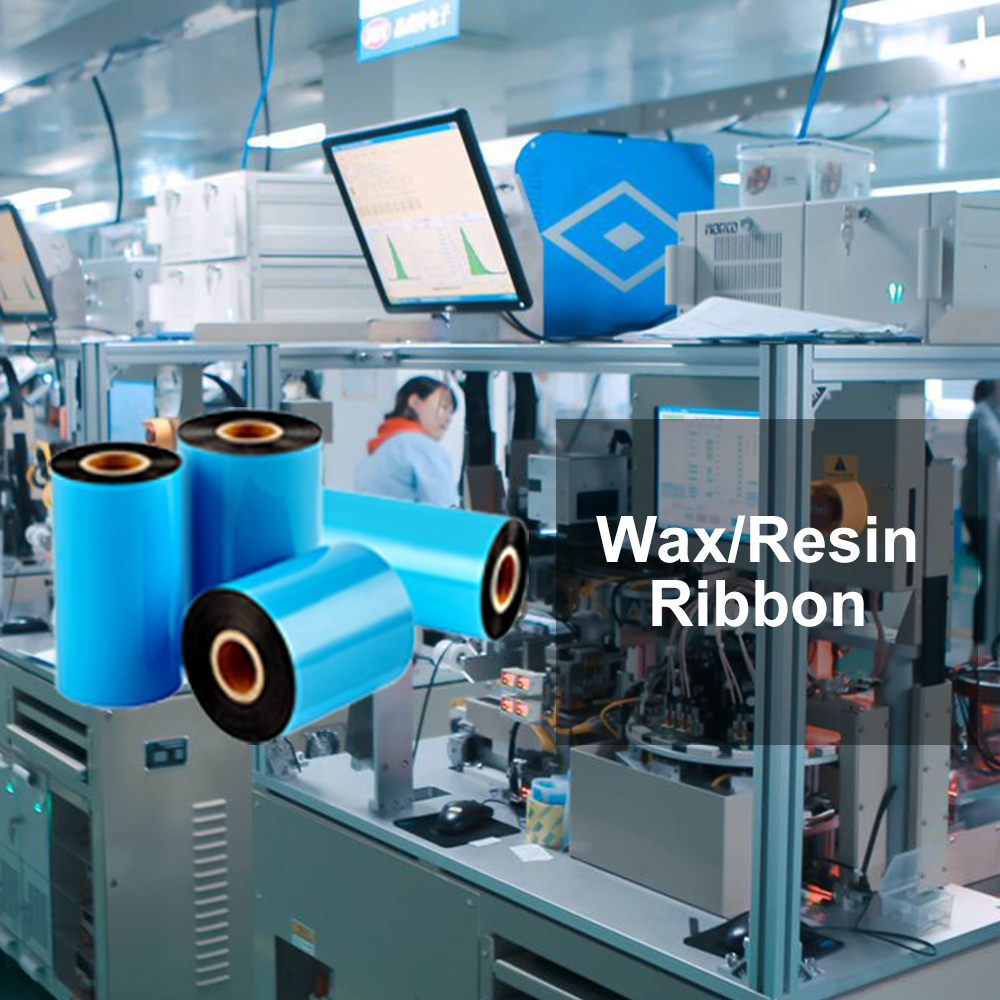
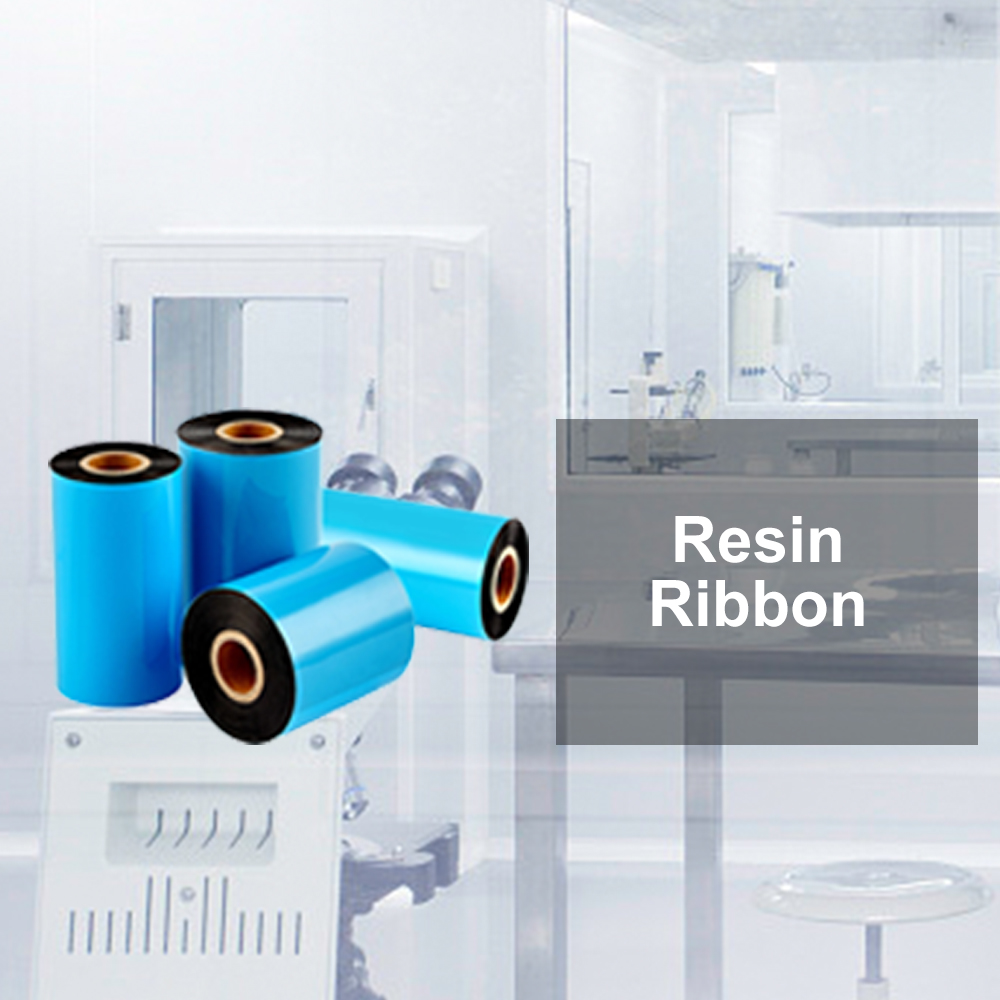
The secret stars of thermal transfer printing are the thermal transfer ribbons. These rolls may look simple, but they're what make or break your print quality. There are different types of ribbons for different jobs-wax for general labels, resin for something super durable, and wax resin for a bit of both. Using the right kind and keeping it in good shape is key to clear, smudge-free printing.
Recognizing Ribbon Red Flags
Every so often, things might go awry with your thermal transfer printing, and it's usually the ribbons waving the red flags. Maybe the print is too light, too dark, or just looks off. Or perhaps the ribbon is wrinkling up or even tearing. Spotting these signs early can save you from bigger headaches down the line.
Quick Fixes You Should Know
Sometimes, a small tweak is all it takes to get things running smoothly again. It could be adjusting the temperature of your printer's head or checking the ribbon is loaded correctly. Knowing these quick fixes will keep your workflow speedy and stress-free.
2. Spot the Trouble Signs with Your Thermal Transfer Ribbons
Once you've got a handle on thermal transfer printing basics, it's time to learn about the common challenges that can crop up. Knowing what can go wrong is half the battle.
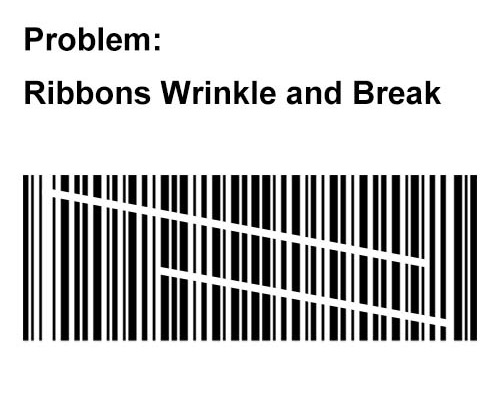
When Ribbons Wrinkle and Break
Wrinkled ribbons are like crumpled clothes; they just don't look right. In printing, this means lines or gaps in your labels. And if a ribbon breaks, well, it's game over for printing until you fix it. Both these issues can stem from tension problems, a misaligned ribbon, or simply the wrong size ribbon for your printer.Tips to Tame the Wrinkles
|
 |
Mending a Broken Ribbon
- Quick Fix: Tape the broken ends together on the backside of the ribbon to keep printing temporarily.
- Go Easy: After the fix, lower the tension to reduce stress on the ribbon.
- Review the Route: Double-check that the ribbon isn't snagging or rubbing anywhere it shouldn't.
- Keep It Clean: A clean print head is less likely to cause ribbon tears.
- Choose Quality: Invest in good ribbons that are durable and break less often.
- Proper Training: Make sure anyone using the printer knows how to load the ribbon correctly to avoid damage.
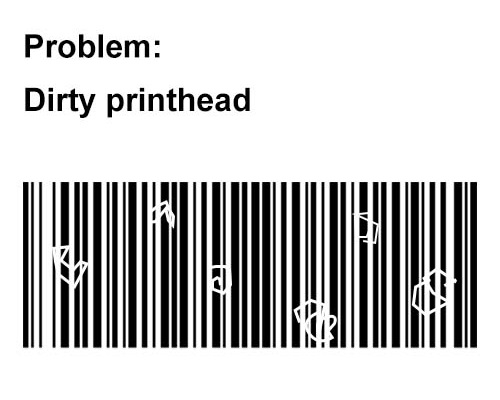
Keep the Print Head Clean and Clear
|
The print head is like the heart of your thermal printer-it needs to be in top condition to work well. A build-up of residue or small bits of ribbon can lead to poor print quality and even damage over time.
|
 |
Ensuring Consistent Print Quality
|
Blurry, light, or uneven prints don't make the grade when it comes to professional labeling. Thermal transfer printing should produce crisp and clear results-if it's not, we need to figure out why.
|
 |
3. Troubleshooting Techniques of Your Thermal Transfer Ribbons
Fixing Ribbon Wrinkles:
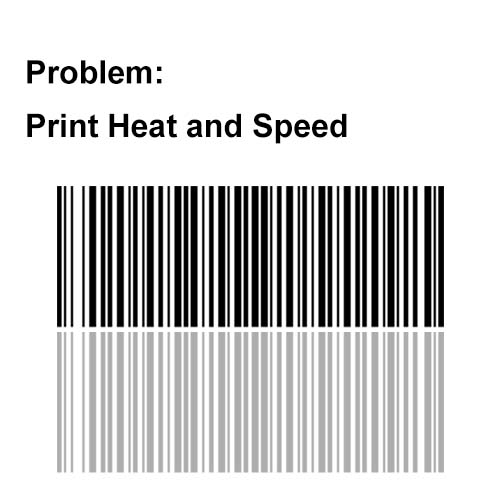
- Tweak Printer Settings: Increase or decrease the heat and adjust the speed until the wrinkles stop.
- Check Ribbon Load: Make sure the ribbon is loaded correctly and isn't snagging on anything.
Clearing Jams:
- Find the Problem: Open the printer and see where the ribbon or label is stuck.
- Remove Gently: Carefully take out the jammed material, making sure not to force anything.
Calibrating Your Printer:
- Know Your Printer: Check the manual to see how your specific model likes to be calibrated.
- Run Calibration: Use your printer's settings menu to run a calibration, following on-screen instructions.
4. Best Practices for Preventing Thermal Transfer Ribbon Issues
By adopting some best practices, you can significantly reduce the chances of running into ribbon issues.
Proper Ribbon Handling and Storage
Always hold thermal transfer ribbons by the edges to prevent oils from your hands from contaminating the printing surface. Avoid dropping the ribbons or setting heavy objects on them, which could crush the roll or damage it internally.
For storage, keep your ribbons in their original packaging or a clean, dust-free container. The ideal storage conditions are cool (room temperature or below) and dry (humidity around 50% if possible). High temperatures can melt the wax or resin on the ribbon, while high humidity can warp it. Avoid storing ribbons near windows, heaters, or air conditioners.
Matching Ribbons with the Right Label Materials
Wax Ribbons work best with paper labels. They're great for general use but not as durable against smudging or fading. Wax-resin ribbons offer more durability than wax alone and are suitable for coated papers or matte synthetics. Resin Ribbons are the most durable option, designed for glossy synthetics and high-demand environments where chemical resistance or extreme temperatures are factors.
Conduct a small-scale test run by printing a few labels with your chosen ribbon-material combination. Look for clarity, smudge resistance, and overall quality. Adjust printer settings if necessary, and only once you're satisfied with the outcome should you proceed with larger print jobs.
5. Advanced Tips for Perfecting Your Thermal Transfer Printing
To take your thermal transfer printing to the next level, it's important to understand and utilize more nuanced techniques.
Fine-tuning the temperature of your print head is key. Start with the recommended setting for your ribbon type and adjust in small increments. If the print is too faint, increase the heat; if it's smudging or bleeding, lower it. Different ribbons-wax, wax resin, resin-require different temperatures based on their melting points and the label material you're using. Remember, high temperatures can shorten ribbon life and potentially damage the print head over time, so only use as much as needed for a clear print.
The speed of your printer must be tailored to match the material and ribbon type you're using. Conduct tests at various speeds and choose the one that yields the best quality without compromising efficiency. With delicate materials or intricate designs, it's often better to slow down and focus on quality. However, when printing simple labels in large volumes, a faster speed might be more appropriate.
The pressure of the print head against the ribbon and label affects print clarity. Too much pressure can cause the ribbon to break, while too little leads to poor-quality prints. For wax ribbons, start with medium pressure and adjust as needed. Resin ribbons usually require higher pressure because of the harder ink. When adjusting, consider the ribbon feed speed as well; a balanced combination of pressure and speed is crucial for sharp and consistent prints. Adjust slowly and test frequently until you find the ideal setting.
6. Achieving Excellence in Thermal Transfer Printing
Mastering thermal transfer printing is about combining a good understanding of the basics with a proactive approach to maintenance and troubleshooting. Throughout this guide, we empower you with the knowledge to identify and solve frustrating ribbon problems so you can produce sharp, professional-looking labels time after time. By following proper ribbon handling, storage, and calibration steps and some additional tips on temperature, speed, and pressure adjustments, you will help yourself avoid a few common mistakes in thermal transfer printing. Remember that each challenge may be taken as an opportunity to learn and improve your art. Mastering these tools and techniques will put you well on your way to becoming a thermal transfer printing expert, producing top-notch work that stands out for its precision and reliability.